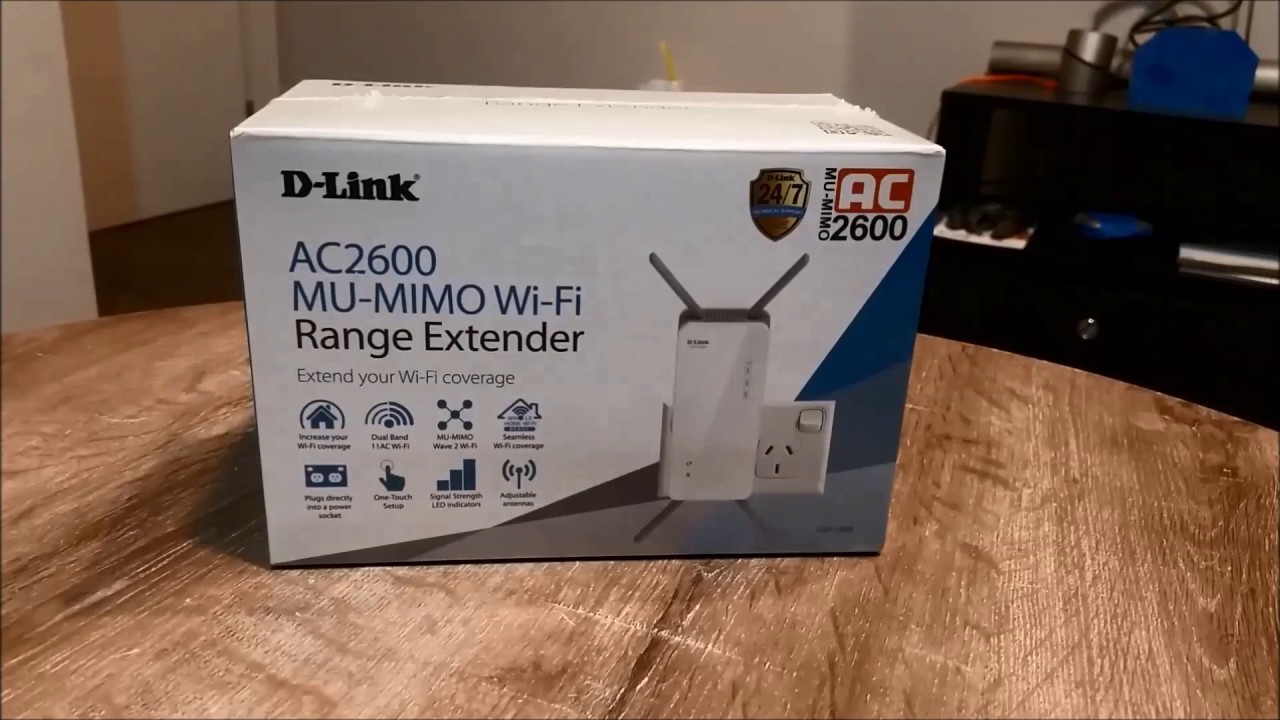
How to configure Guest Zone within the Dlink Exo AC2600 Mu-MIMO Wi-Fi router?
Guest Network is a temporary network which is primarily created for visitors who visits your home frequently. This type of network is separate from the main network and is allowed to be configured from either of the frequency bands. The network gives the benefit to users to allow the other users to access the internet and at the same time denying them from accessing the private files and documents within the network.
Note: Guest Network won’t be available if Smart Connect is enabled.
Here are the steps to configure Guest Network in Dlink Exo AC2600 MU-MIMO Wi-Fi router
- Open a web browser and navigate www.dlinkrouter.local on the web address of the browser.
- Hit Enter and Dlink router login page will appear on the screen.
- Mention the username and type the password you mentioned earlier while logging in to the main page of the Dlink router.
- As soon as you reach the main page of www.dlinkrouter.local, go to the Status tab.
- Enable or disable one of the frequency bands of the router.
- Now, create a name for your network by using a maximum of 32 characters.
- Also create a Wi-Fi password, using which the other users could access your wireless network. The Wi-Fi password should be strengthened enough to not allow anonymous users to guess it out.
- Now, go to the drop-down list and select the schedule for which you want this rule to be enabled.
- Choose the Always enable tab if you want the rule to be always enabled. You also could create your schedules from the Schedules section.
- Click on the Save tab when you are done
Note: If the user also chooses the Internet Access only option, then the user connecting to the Guest network could only access the network without having any access to the other local networking devices.
How to create a schedule on my Dlink AC2600 MU-MIMO Wi-Fi router?
Creating a schedule on the router becomes efficient when a user wants to apply some time-based features on a pre-defined schedule. The feature is very much utilized by the office people who lack the time to command their router differently. The feature not only saves the time of a user but also save the efforts that a user could make in other daily routines of his life.
Steps to create a schedule on Dlink AC2600 MU-MIMO Wi-fi router
- Open a web browser and mention www.dlinkrouter.local on the web address of your browser.
- Hit the enter button and the Dlink router login page appears on the screen.
- Mention the credentials within their respective fields.
- Type the username that you applied during the Dlink router setup on the username tab and mention the password that you assigned during the setup process. Click on the login button and dlinkrouter.local page appears on the screen.
- Go to the Maintenance tab and click on the Time and schedule option.
- Now click on the Schedule option.
- Now, click on the Add rule option.
- Create a schedule using the chart given on the web interface of dlinkrouter.local window.
- After creating a schedule that suits your routine, click on the Apply button.