How to change the Network Name of the Dlink AX1200 Wi-Fi extender via dlinkap.local?
Network Name of the Dlink AX1200 Wi-Fi Extender is a name given to the Wi-Fi network by a user to allow the other nearby users to identify your network. The network name is one of the credentials of a Wireless network that nearby users utilize to get connected to your home network. Either you are using your device at the office or at home, you have to create this credential to allow users to get connected to the network. You also can hide the SSID name from the Wi-Fi list to create an invisible barrier that will prevent unwanted users to access your network.
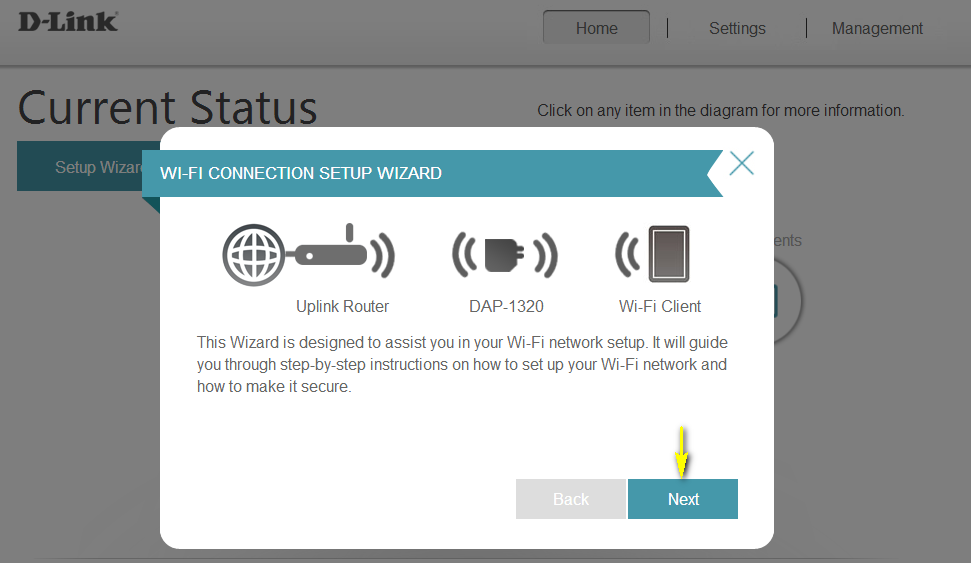
Steps to change the Network Name of the Dlink AX1200 Wi-Fi extender
- Launch a browser on your desktop and type www. dlinkap. local on the web address of the browser. While encountering an error you also can utilize the LAN IP address of the device to get to the default gateway of your Dlink AX1200 Wi-Fi extender.
- Hit the Enter button and the Dlink Extender login page appears on the screen.
- Type the admin username on the username credential, if you haven’t changed the default username type “admin” as the default username. Type the login password that you mentioned earlier to get to the default gateway of dlinkap.local tab.
- Hit the login button and the dlinkap.local main window appears on the screen.
- Bring your cursor to the Settings tab located on the left of the Management tab, choose your Wi-Fi extender from the drop-down list.
- Go to the SSID field and type down a new Network name on the SSID field. If a user wants to assign a different SSID name to both the frequency bands, he can do it by providing a different Network Name on each field of the band.
- Note: While enabling the Smart Connect feature, a user has to change the Network name on both the band to avoid overlapping of the bandwidth on either of the frequency bands.
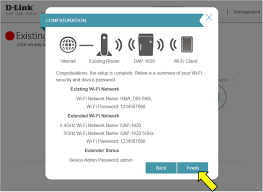
- Click on the Save button to save the configurations you made.
How to back up the configuration settings of the Dlink AX1200 Wi-Fi extender?
The configuration settings of any networking device consist of the networking protocols, administration settings, and security mechanisms that determine the functionality level of your device. These types of settings are controlled by a user through the web interface of dlinkap.local window. A user can create a backup of these configuration settings durin a reset or the firmware update process so that after these processes a user can easily restore these settings back into the extender.
Steps to back up the configuration settings of the Dlink AX1200 Wi-fi extender
- Launch a browser on the desktop connected to the local Wi-Fi network.
- Go to the Address bar and type www.dlinkap.local or the IP address of the extender to get to the Dlink Extender login page. The IP address of the Dlink AX1200 Wi-Fi extender is 192.168.1.249.
- Hit the Enter button and the Dlink Extender login page appears on the screen.
- Type the admin username on the username credential, if you haven’t changed the default username type “admin” as the default username. Type the login password that you mentioned earlier to get to the default gateway of dlinkap.local tab.
- Click on the login button and the dlinkap.local main window appears on the screen.
- Take your cursor to the Management tab located at the top right corner of the window then click on the System tab residing on the drop-down list.
- Now, to save the present configuration settings click on the “Save configuration file” button. If the browser asks you to select the desired location then select the location then click on the Save tab. If the browser doesn’t ask the location of the file, then the file will get automatically downloaded in the “Downloads” folder of the desktop
- To restore the file back to the desktop, click on the Select file option. Locate your file and the name of your file will get displayed on the Select file button. Click on the Restore button and then click on the OK button to begin loading the configuration of the saved file.
Note: Save the configuration file in an anonymous location so that no unwanted users could be able to access it.