How to set up a D’Link AC1750 router in your home network?
DLink AC1750 setup – After the D’Link router setup process, a user is suggested to change the default login password as most of the users knew the default password that makes it easy to access the dlinkrouter.local interface. No user can log in to the dlinkrouter.local main window without typing the login password on the password field of the Dlink router login window. A user should also enable the Password Recovery feature so that in case a user forgets the login password he can recover it using the web interface of his Dlink router.
Here are the steps to perform the DLink AC1750 setup in a home network
- Plugin the modem cable into the Internet port of the Dlink router.
- Now, take an Ethernet cable and insert it into the provided port and connect the other end to the computer or laptop whatever you are using.
- Plugin the Power cable to the provided port and attach its adapter side to an available power outlet.
- Turn on the power switch and wait for a few minutes to allow your router to get successfully turned on.
- Now go-ahead to the desktop screen and scan for the wireless networks.
- Select the default Network Name from the Wi-fi list. You can fetch the default wireless settings of your router from the back of your device through its product label.
- Click on the Connect button to connect to the router’s network.
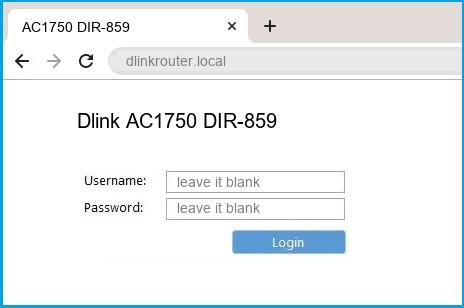
- Open a browser and type dlinkrouter.local on the address bar of the opened browser. Hit enter and dlinkrouter.local configuration page appears on the screen.
- In the first step, you can change the default language. English is the default language that is already set to the Dlink router.
- Click on the Next button to proceed to the further step.
- The dlinkrouter.local interface starts detecting the internet connection in your network.
- Now select the Internet connection type for your router’s network. Users are suggested to select the DHCP type (Dynamic IP address) of the Internet connection.
- Click on the Next button.
- In the next window, personalize the Wireless settings of your network. Assign the network name, Wi-fi password
- Users are advised to provide different names to both of the Wi-fi names of your router’s network.
- Click on the Next button when you are done customizing the wireless settings.
- You need to assign a login password for your Dlink router login window. Passwords must contain a number, symbol, lowercase, and an uppercase letter.
- Click on the Next button.
- Confirm the network settings including the Device name, connection type, and wireless settings.
- Click on the Next button.
- At last, you can review all the settings you configured. Note down the important credentials.
- Click on the Finish button when you are done.
- Your router starts the reboot process to apply the settings you did. It may take a while.
Note: Prioritize the wired connection over a wireless one during the setup process to avoid a sudden disconnection. You can take help of the manual guide and online support website to solve any issue during the configuration or the setup process. To check completion of the setup process you can check the router’s Wi-fi on the Wi-fi list.